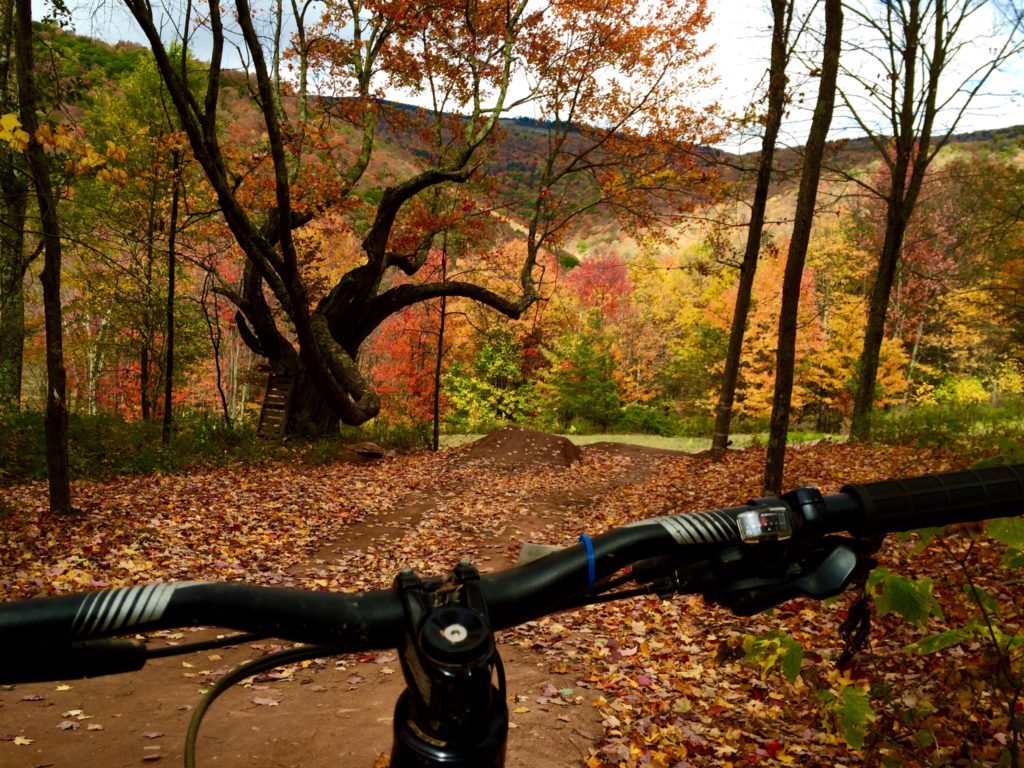
YAY!!! If you have a Snowshoe Downhill Bike Park trip planned, I’m super EXCITED for what’s sure to be your new addiction in an absolutely GORGEOUS and FUN setting!
Downhill MTB can be slightly intimidating, but Snowshoe mountain provides some trails that are actually not harder than cross country trails, so it’s a GREAT place to ease your way into the world of downhill mountain biking!
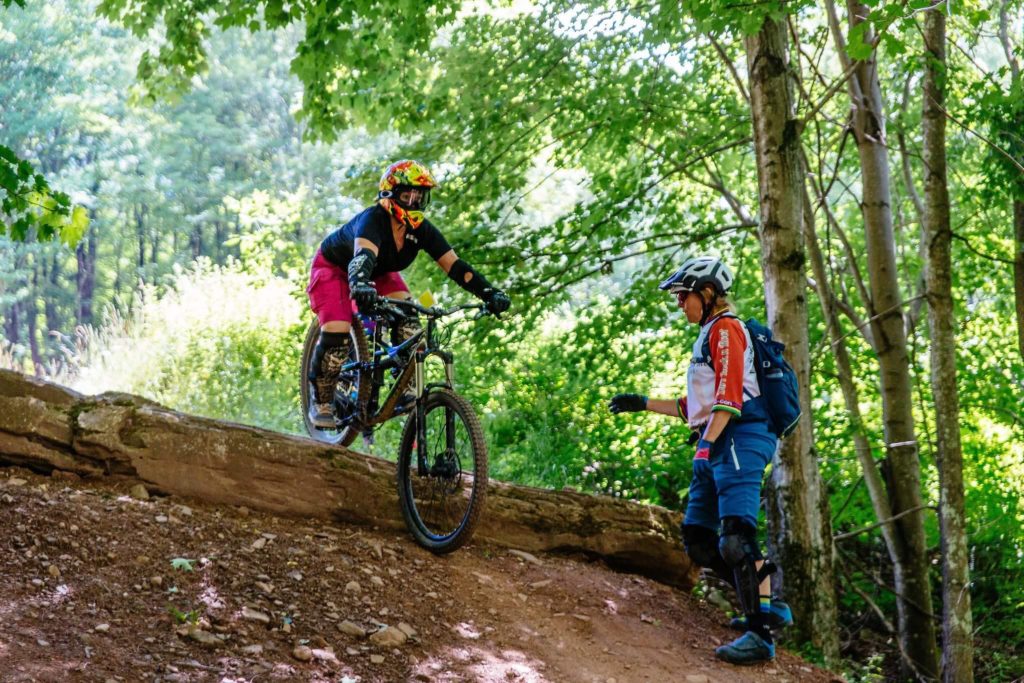
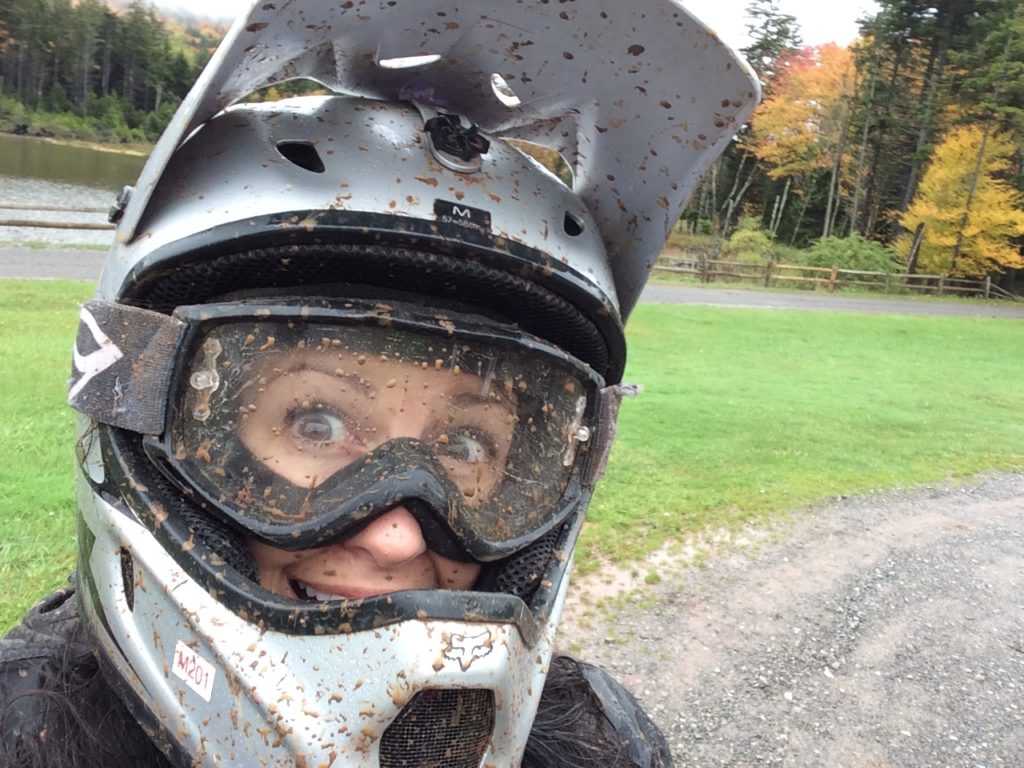
First, don’t let the helmet intimidate you; The full face helmet is JUST in case, because you can get comfortable with going fast on some trails and your comfort level will increase dramatically as time goes on, so better safe than sorry!
Before you go, here are some tips and info to help you be prepared:
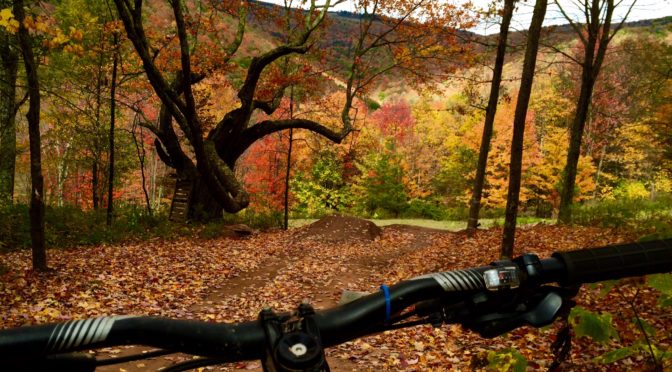
THE TRAILS:
On the basin (Ballhooter lift) side of the mountain there is a green run that is suuuper easy! …in fact, it’s CALLED “Easy Street” 😉 It’s a green level trail that slowly meanders down the “not-so-steep” side of the mountain and in some parts it’s so flat that it even requires pedaling. :-O! It also has some GREAT small berms and other spots for practicing your turns and skills too!
It’s definitely the perfect trail to start out on and I often use it as my first run in the morning just to warm up for the day.
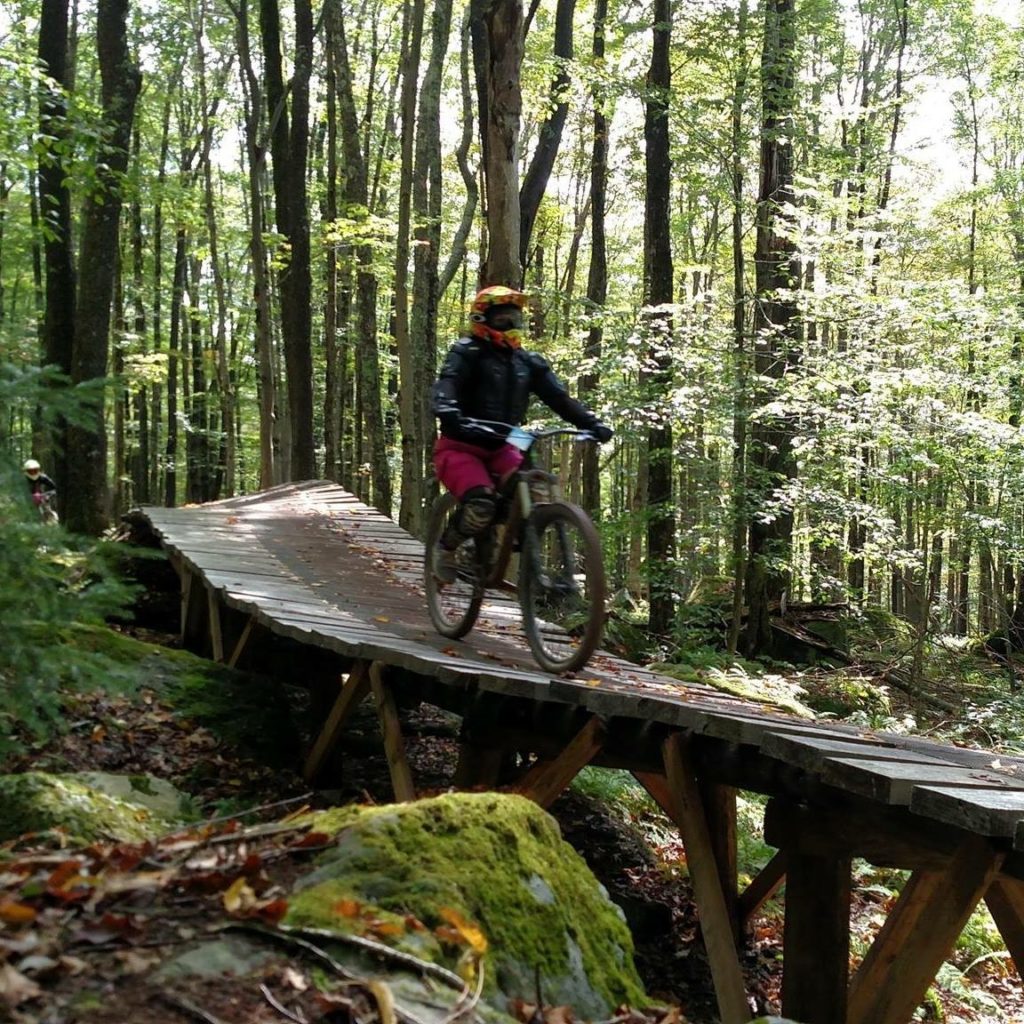
I’d say that the next easiest, smooth and flowy trail is Skyline, which is quite a long trail on the Western Territory side of the mountain; it has nice roll-overs and is super smooth with only one, totally rollable, or walk-able, drop (see below).
As you can see, I can roll this without hitting my bottom bracket using the “peek and push” method I learned at Ladies All Ride and Snowshoe DH clinics, BUT as with any section of the trail that you may not feel comfortable with, you can certainly walk along the side of it until you are ready.
Just make sure you aren’t in anyone’s way and are always in the line of vision of other riders behind you!
If you’d like to stay on the Basin (Eastern) side for a little while, ride Upper and Lower “Dreamweaver” for the next step up from “Easy Street”.
You can download a map from the Snowshoe website and also watch videos of the trails on Youtube to get a feel for the trails, too!
Green is the easiest, Blue is the next step up, and Black the most difficult.
You’ll also want to be prepared, gear-wise, so read on:
THINGS YOU WILL NEED OR WANT:
- A BIKE: If you have a Full Suspension bike with, at the very minimum, 7” travel on front fork, you should be good, especially for your first time if you don’t plan to do anything too crazy.
If you DON’T have a proper bike for this terrain, then you can rent one through the Mountain Adventure Center (M.A.C.) by calling (304) 572-5917.
It’s a good idea to rent ahead of time so that you are guaranteed a bike! They have both Freeride and Downhill bikes. For your first time, a Freeride is probably good enough, and a little less expensive.
When you rent, your full face helmet and all padding is provided with the bike!
IF you have a bike, then you are going to make sure that you have the things below:
IF YOU HAVE A BIKE, AND ARE NOT RENTING (and therefore won’t get the included helmet and pads, unless you pay extra to rent some) then you will want the following:
NOTE: I highly encourage shopping at your local bike shop for as much gear as possible, **BUT** IF YOUR LOCAL BIKE SHOP DOES NOT HAVE the items listed below, which is likely if you don’t live in a downhill area, then here are some links that you can use to purchase online (which will be less expensive than resort shop prices):
- A FULL FACE HELMET –The Giro helmets with MIPS are a SAFE favorite:
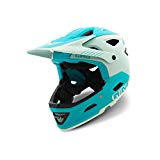
![]()
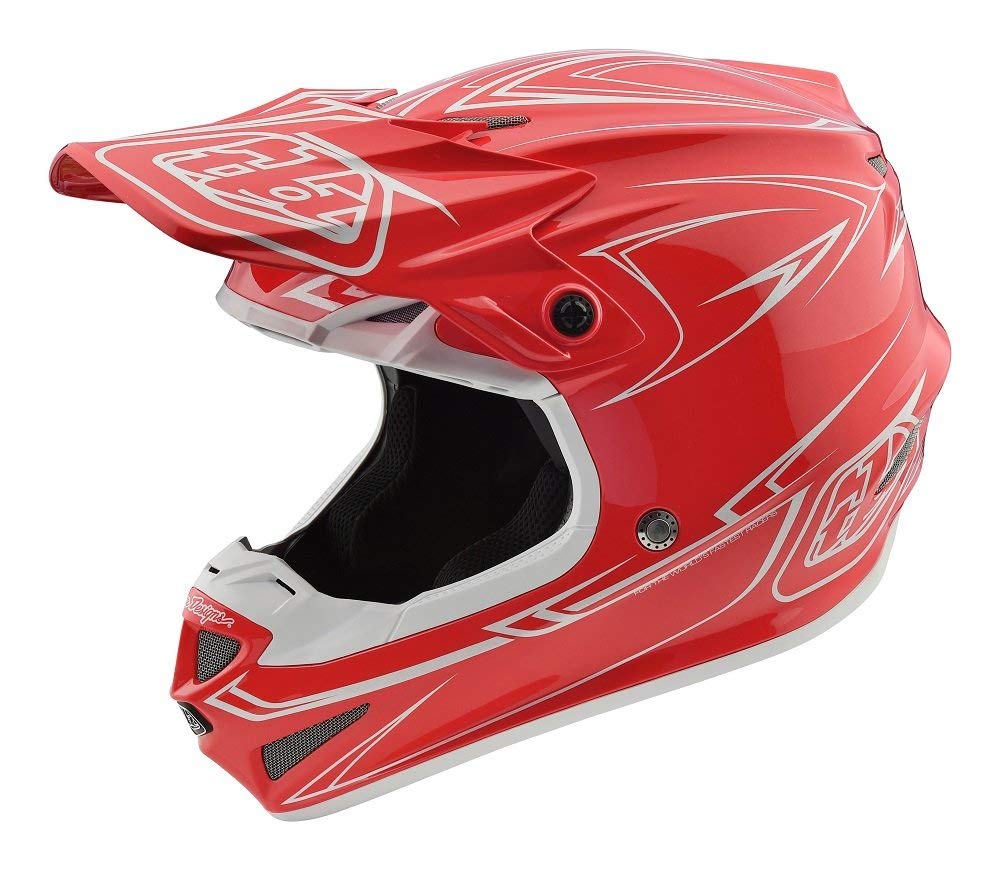
- The Troy Lee Designs are also popular with downhillers, and here is one of the lower priced ones (~$200) again, these are included with your bike rental:
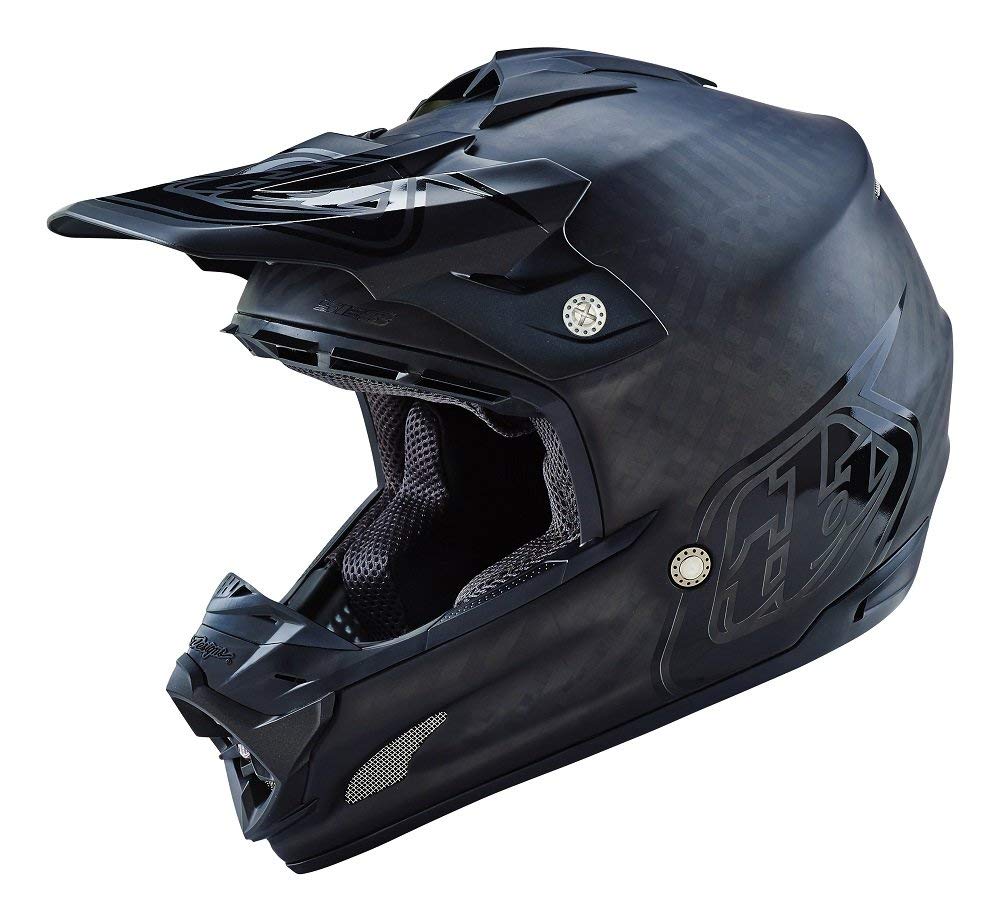
I think THIS Black helmet is my favorite, at the moment, because you can simply customize it with your own stickers 😉
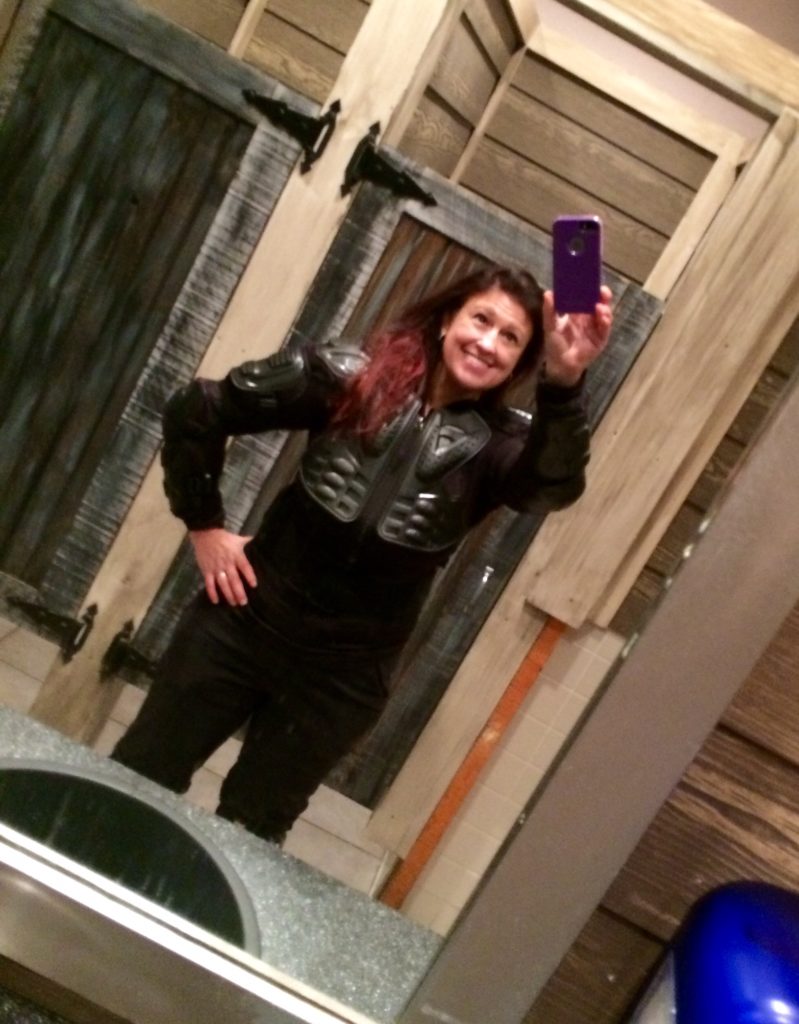
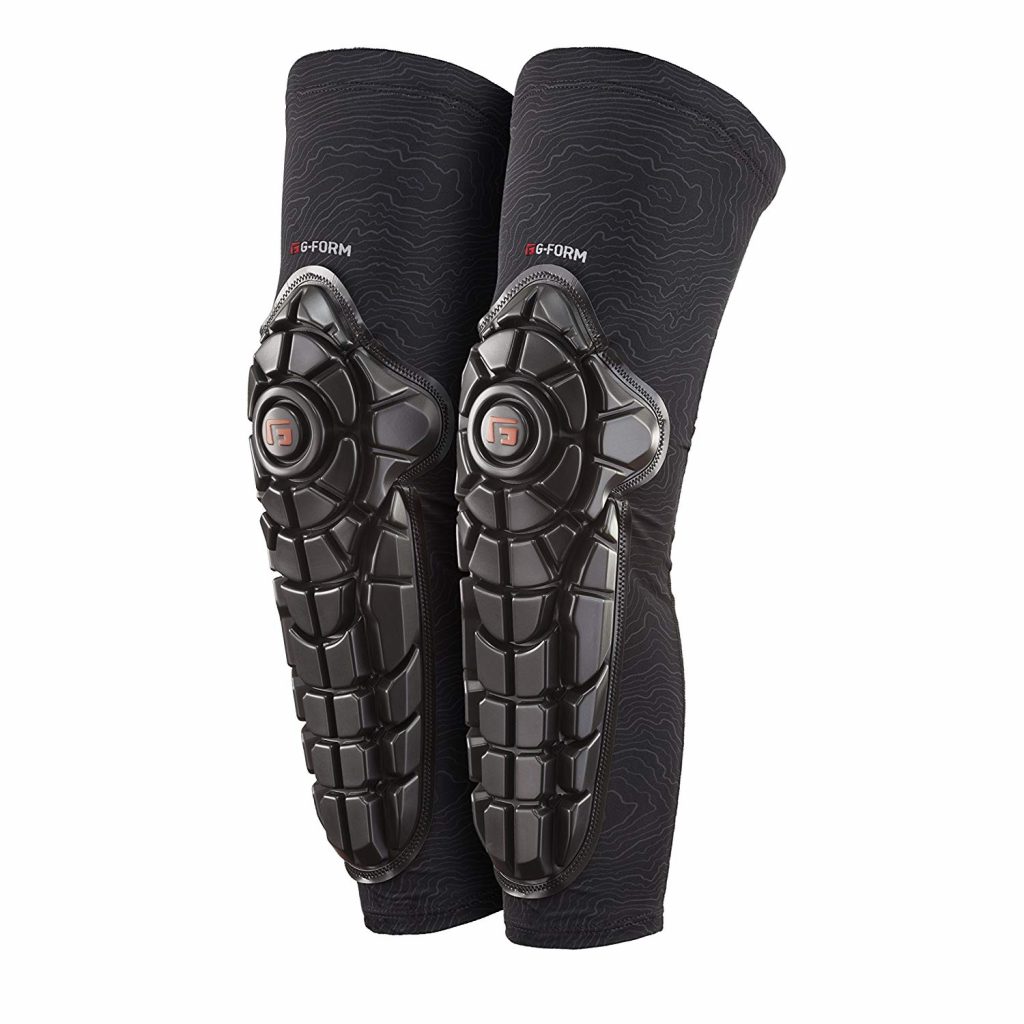
- NEXT: Plastic Courage (Pads): shin/knee/elbow/shoulder/maybe even neck brace
My favorite brand at the moment are G-Form, because they are lightweight and don’t slide down as much as some others that I’ve worn. Be sure to use the sizing chart, though, as they run small, in my opinion.
I recommend shin and knee protection like this:
And elbow protection (note that these are included if you rent a bike):

- A Bottle of water–you can leave this at the top or bottom of the lift, but both lifts do have water coolers and cups at the top and bottom too (so technically, you don’t have to carry water if you remember to hydrate at the water coolers)!!!
- Snacks– throw some in your pocket
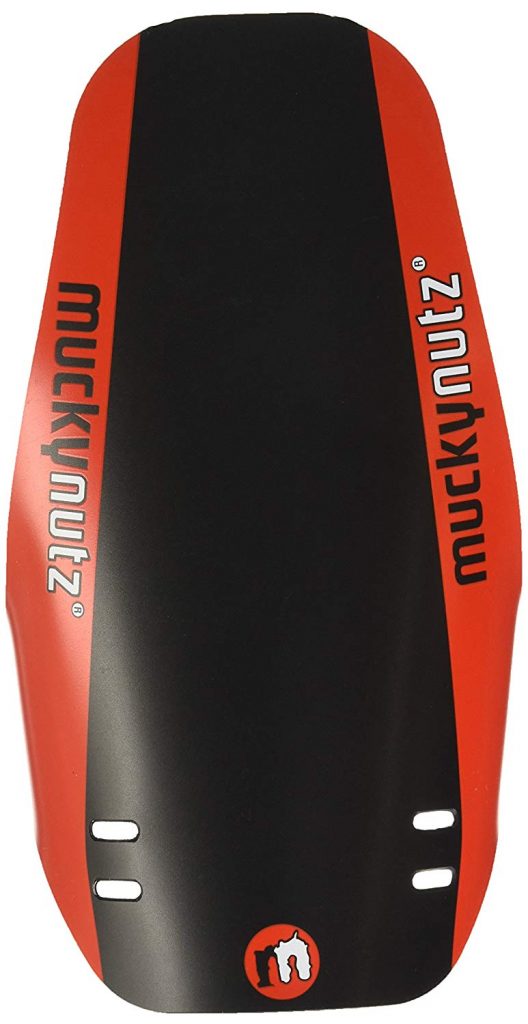
- A mud flap to help keep TOO much mud out of your face! These Mucky Nutz ones are popular and come in many colors:
YOU WILL ALSO WANT (NOT available for rental):
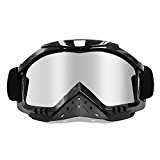
- GOGGLES!!! Snowshoe is usually muddy, especially in early season, and mud in your eyeball is noooo bueno.
Here are some great, inexpensive ones made by Dmeixs that are only $16:
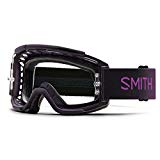
And these are some nicer Smith Goggles that are super clear and will keep you cool due to the extra vents!:
- Flat shoes specifically for MTB are ideal (five tens are the most popular, but if you have wide feet, they may not be comfortable)
![]()
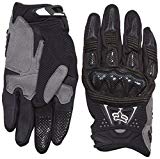
- Protective gloves like Fox Bomber Gloves are great for extra hand protection:
ALSO; If you have your own bike, you may want to pack the following items to keep at lodging if you need them, but you don’t have to carry them with you (you can always use the ones at the bike shop too):
- Shock pump
- Tire plugs & CO2 cartridge to fix a flat (links)
- Tools
- Lube—for entire bike
OTHER HELPFUL INFORMATION:
Lift tickets can be purchased at the Mountain Adventure Center. Lift operating hours vary, but for day one, I recommend getting to M.A.C. about 45 minutes before the lifts open to allow time for crowds at the store.
LODGING: If you are able to rent a house, I recommend getting one on the Western Territory (Westridge Road), as close to the trails as possible. I use http://www.snowshoevacationrentals.com for my house as they have been the most responsive and reliable for me. You can also check AirBnB or VRBO for rentals as well. In the MTB season, the houses tend to be very reasonably priced. (House tip: Bring extra toilet paper and buy your groceries at home to save money)
If you are getting a condo, I highly recommend staying at the following places which are NEAREST to the trails/lifts and bike shop:
FINAL TIP: Unfortunately Snowshoe closes down half, or all, of the bike park for non bike related events (and bike related events like the Nats, too), so it’s UBER important to check by reviewing the FULL page at this LINK: Snowshoe Mountain Hours of Operation, or by calling 1-877-441-4386….and double checking!
AND….of course
HAVE A WICKED KICK-ASS SUPER FUN TIME!!!!!!!!!!!
I hope this post was helpful in getting you not only prepared, but excited for your first downhill mountain biking trip at Snowshoe!